We celebrated Ellie's second birthday last weekend and I am just now finally getting to all the pictures. This mama needed to take a break after all the party business had ended! Ellie had so much fun at her party, so it made all the late nights and hot glue gun burns worth it! ;) So, grab some coffee, sit back, and get ready for a picture overload!
If you've read some of my other blog posts, you know that I love to have something out in the yard to greet the guests. Who better to do the job than a life size, wooden Elmo! My hubby tolerates my crazy ideas and even helps me bring them to life. The kids loved the giant Elmo and even swiped his balloons at the end of the party.
I had three main indoor areas that I decorated. We'll start with my favorite, the dessert table! This was seriously a labor of love. I've always wanted a ruffled tablecloth, but just couldn't bring myself to shell out the money for one. One night when I couldn't sleep, I had this wacky idea to make my own, except with a twist. I ended up sewing velcro to the ruffles so that I can switch them out for each party theme. I have to tell you, it was a lot of work, but I am in LOVE with the final product! And now, I have a ruffle tablecloth that I can make to match every party that I throw!
We had lots of fun sweets for the dessert table, including Elmo cakepops that I made, rice krispie treats on swizzle sticks, push pops filled with matching M&M's, cookies, chocolate Elmo pops, and the most beautiful, delicious cake ever!
The beautiful push pop containers are courtesy of
I Have A Favor. I filled them with pink and aqua M&M's and put them in a pretty pink suitcase I bought from
Land of Nod. The suitcase is actually a teal inside, but it didn't match my colors perfectly, so I covered the inside with polka dot scrapbook paper. It turned out so cute!
I made the square cookies below myself. I took a print out of one of the printables that
Party On! Designs made to my local grocery store bakery. They printed it out on edible paper and I just set that paper onto my royal icing cookies. So pretty and they made a big statement!
These cookies by
Kima's Konfections were so delicious and they matched the colors perfectly! There wasn't a crumb left after the party!
My husband made this huge Ellie Street sign to go near the dessert table. Loved it!
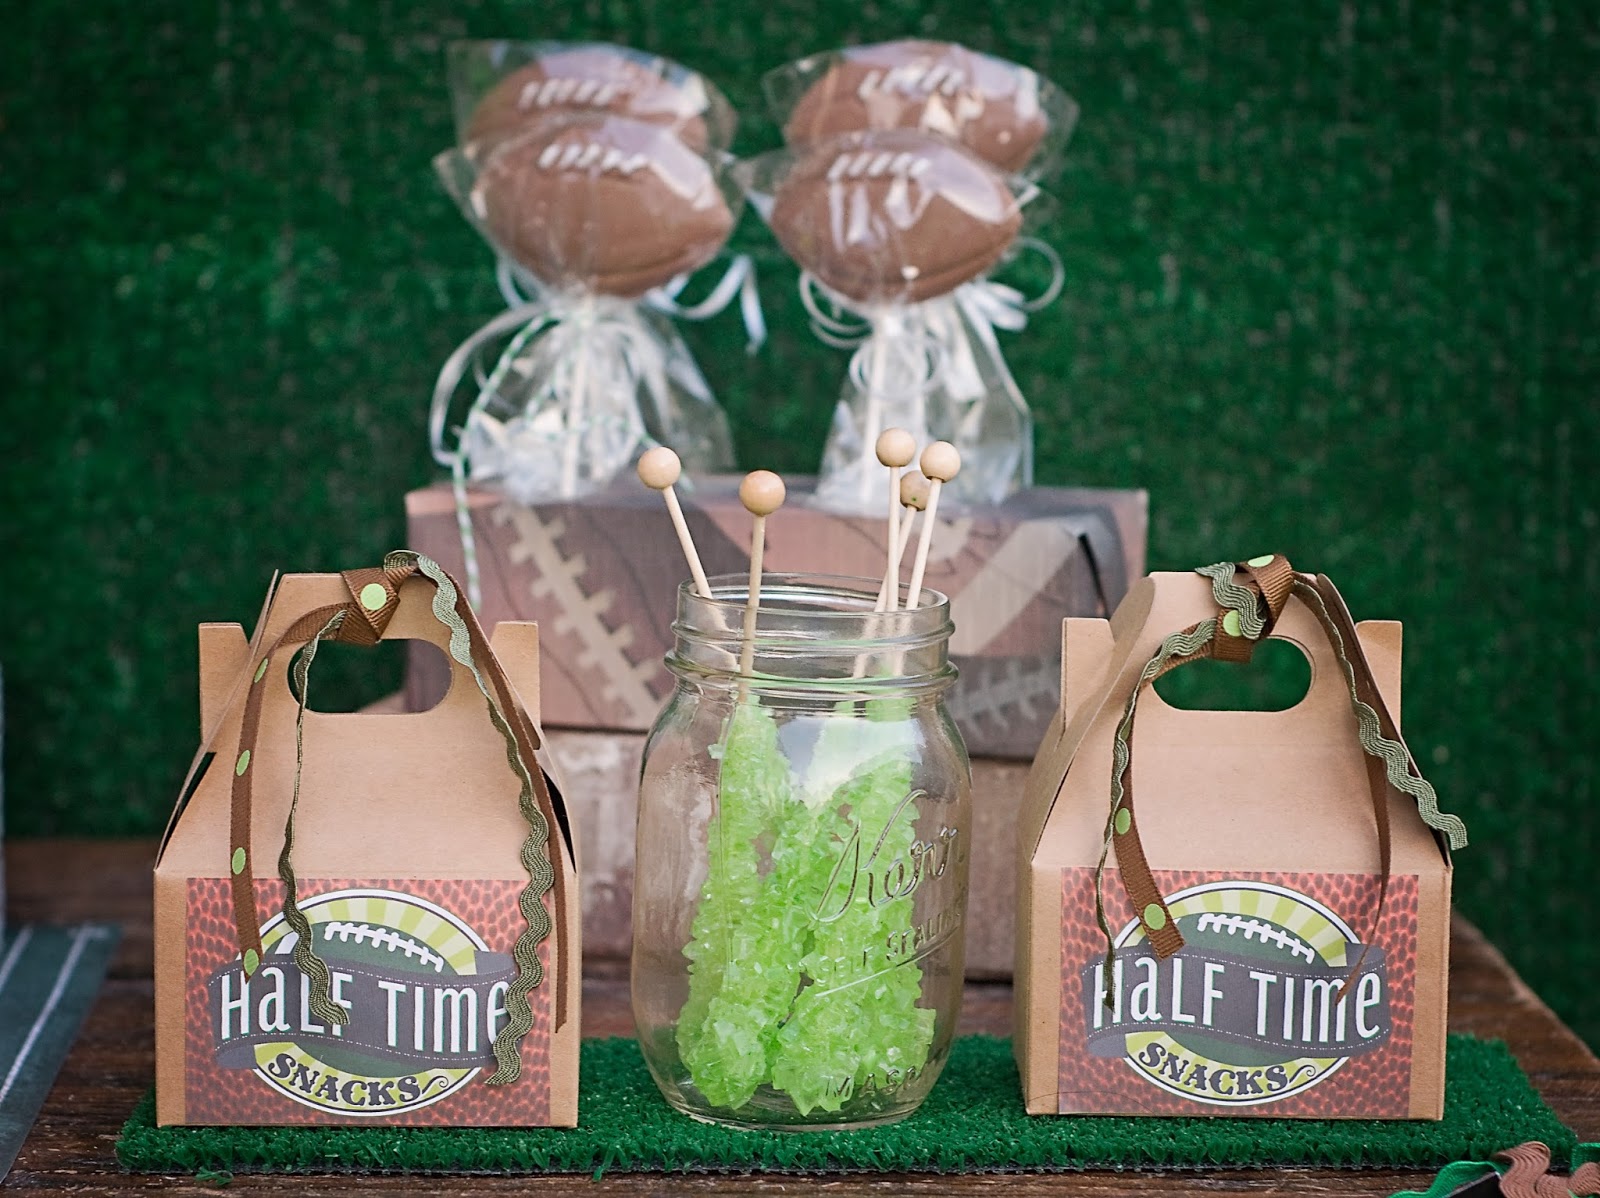
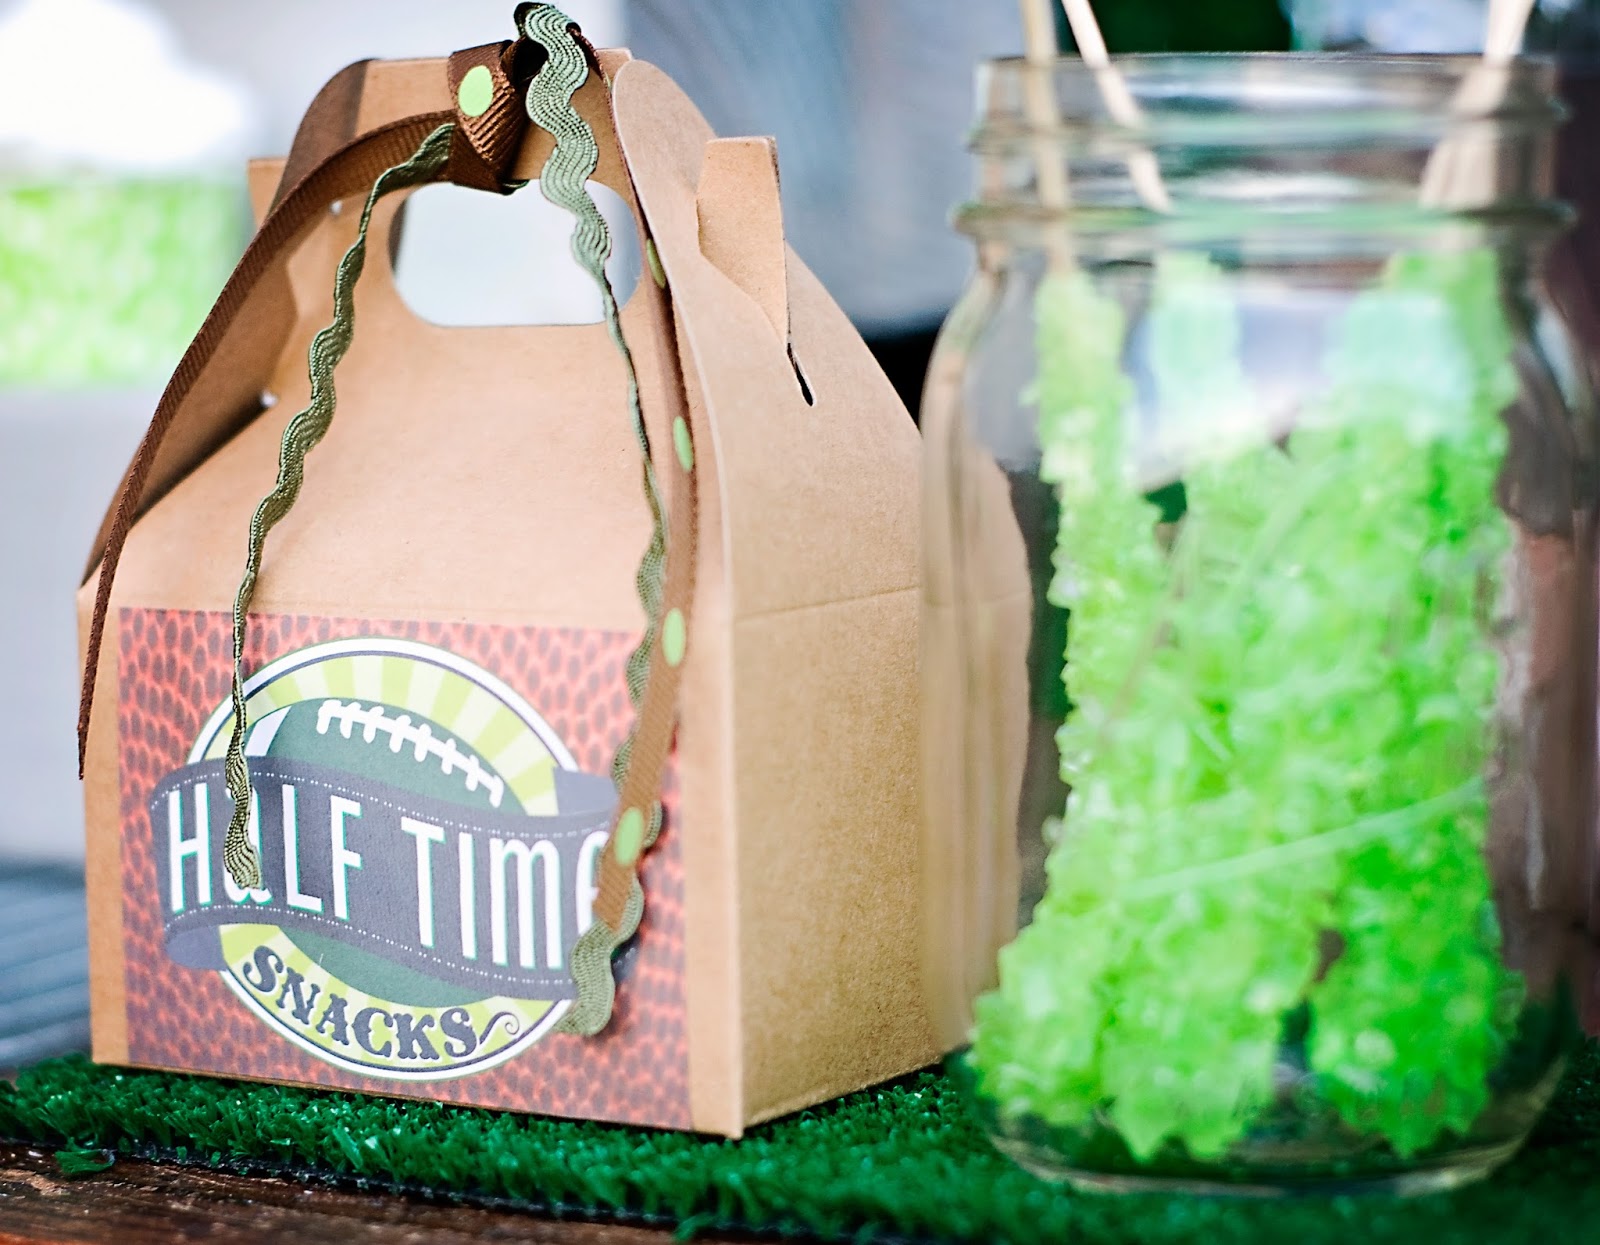
I also had these great little bags from
Party On! Designs that the guests could use to take home treats from the dessert table. I always seem to have lots of sweets left over after the party, so these ,mwere perfect to get them out of my house
My little birthday girl had a hard time staying away from the dessert table. She may have snuck a treat or two! :) Isn't her shirt the cutest? Its from
Sweet Threads Clothing Company and it matched the party perfectly!
Next up comes the food table, yummy! I pulled out my sewing machine again and whipped up some pretty ruffled streamers. I tied them to a thick, red ribbon and then topped it off with a banner that said "Ellie" I bought some plain, white gable boxes and embellished them with a
pretty matching sticker. I packed each kid their own little lunch inside, with chicken nuggets (they went inside the little fry containers,but were still in the oven when I took this picture), an applesauce pouch, and goldfish. Next to the boxes were the cutest little Elmo cups ever with matching straws. The kids loved these!
The third station that I set up was for the take home favors. Each child could get their Elmo bucket and fill it with whatever goodies they wanted. I think they loved picking and choosing!

I had a few different activities set up for the kiddos, but the main one was the massive bounce house and waterslide combo, which turned out to be the only frustrating part of the day. They were supposed to deliver the bounce house/waterslide and kid tables and chairs more than an hour before the party. They didn't get there until about 15 minutes AFTER the party started. I didn't get my tables decorated the way I wanted to, which was disappointing. I still think everything turned out pretty, though! Anyway, back to the activities...
The first one I had was the edible beading station. I put Fruit Loops in pretty pink cups courtesy of Party On! Designs and then precut some twine for the kids to make edible necklaces. This was perfect for the kids who wanted to take a bit of a break from the waterslide!

I also set up a little coloring station for the kids who needed a bit of time to warm up. I simply printed out an Elmo I found online and decorated a metal bucket with ric rac and filled it with crayons. Simple fun.
I had an Elmo bean bag toss, but I didn't get a picture of that!
I couldn't have been more thrilled with the printables that Party On! Designs made for me. They were absolutely perfect for the look that I was going for! I printed out a few to stick in the flowers that I put throughout the party. I loved the blue Mason jars, too, and you'll never guess where I found them! My grocery store!!!
I am so happy with all the vendors I used for the party! I just wanted to say thank you very much to everyone who made this party fun and beautiful! Here is a list of my wonderful vendors:
Party Printables, paper straws, party fringe, paper nut cups, and other party supplies:
Party On! Designs
Round Cookies:
Kima's Konfections
Cake:
Mindy May's Cakes
Push Pop Containers:
I Have A Favor
Elmo Drink Cups:
Signature Avenue
Ellie's Shirt:
Sweet Threads
Ellie's Hair Clip:
Posies Handmade
Favor Hair Clippies:
A Market Collection
Favor Hair Ties:
Enchanted Felt
This party has been featured on:
Kara's Party Ideas
This party has been shared on:
Lil Luna
Bloom Designs
Seven Thirty Three
A Glimpse Inside
House of Hepworths
The Girl Creative
Skip to My Lou